The owner of a file or folder is automatically granted full access to all possible actions. Users marked as system administrators also have such extended rights. Additionally, you can revoke or grant certain permissions to other users or make them the new owner. We will show you how this works with the example of folders. All files in the folder and subfolders will automatically “inherit” what you define for each folder. With single files this works in the same way. To change the owner and permissions of files and folders in Windows 10, you must be logged in as administrator. Here are the two main methods to set file and folder permissions and to take ownership of files and folders in Windows 10. If you prefer a two click-solution also for the future you can alternatively add a “Take Ownership”-option to the right-click context menu.
How to set file and folder permissions in Windows 10
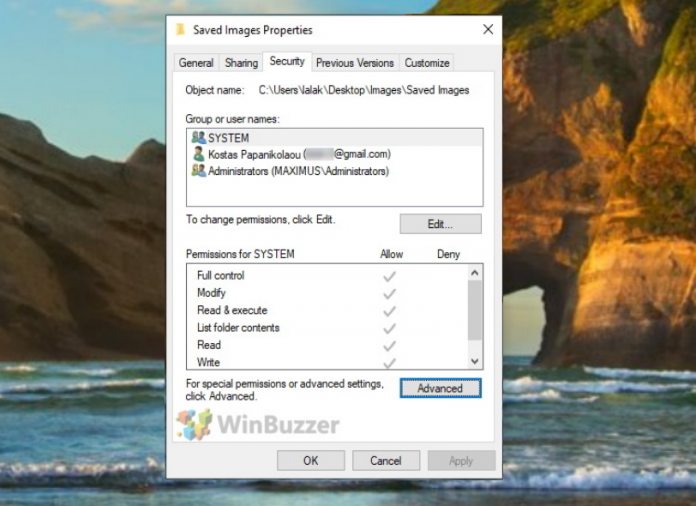
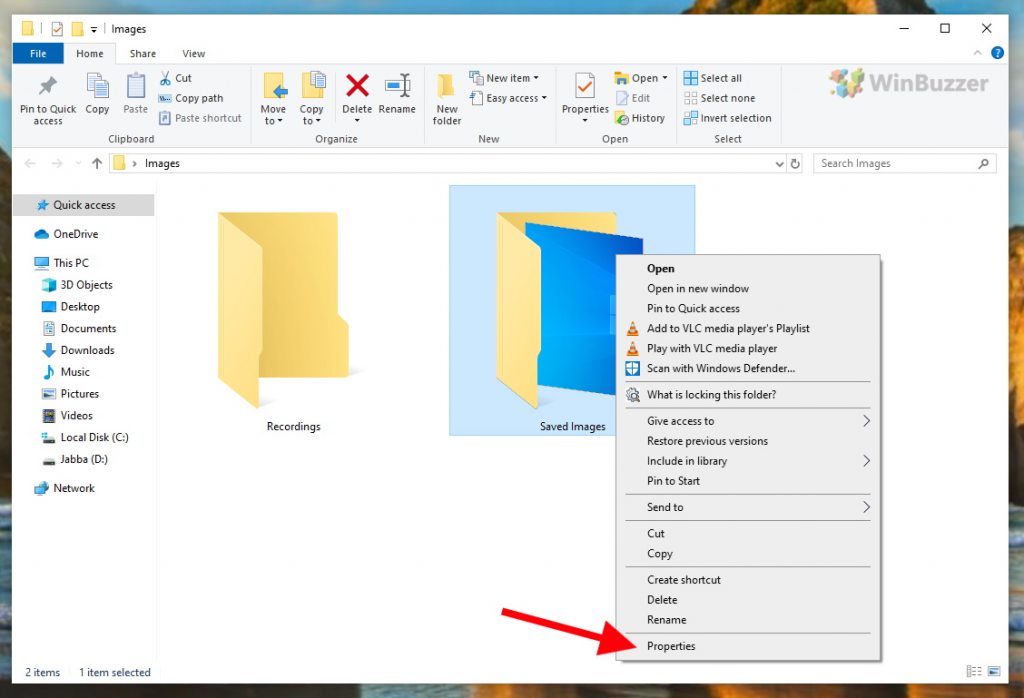
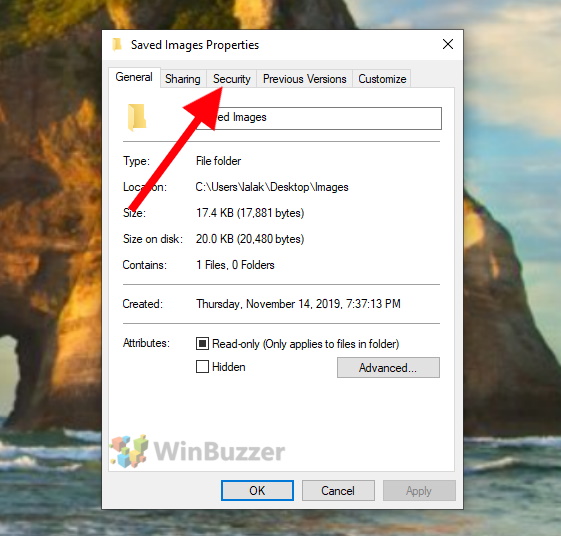
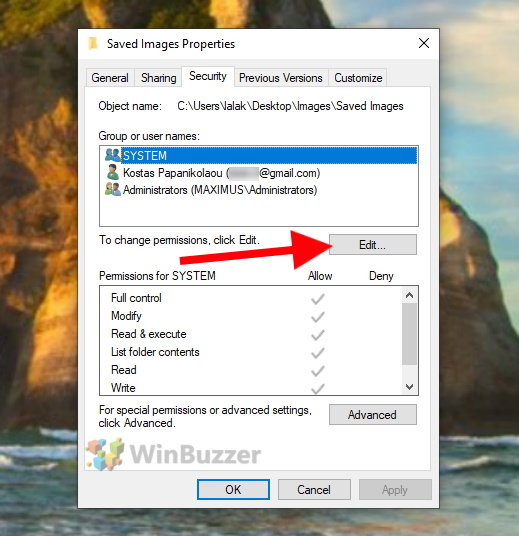
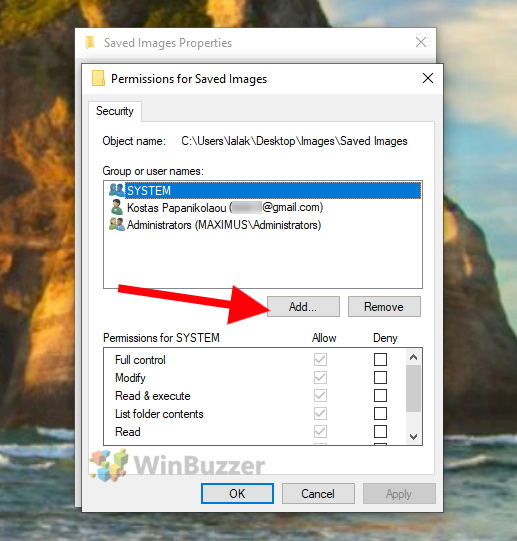
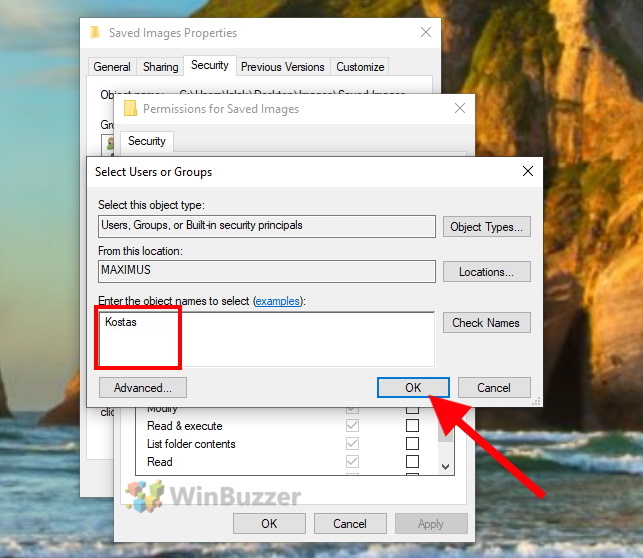
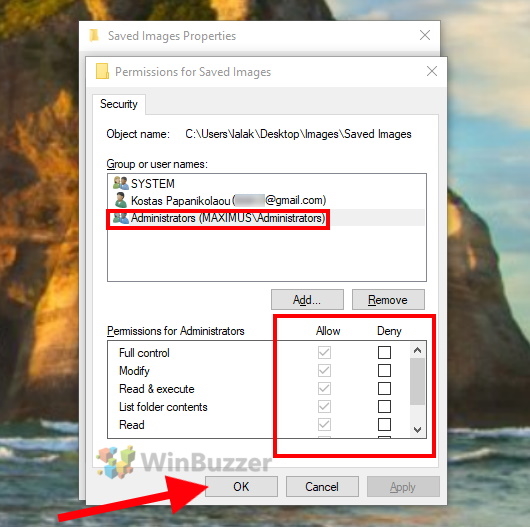
Right-click on the file or folder icon in File Explorer and select “Properties”. Then switch to the “Security” tab. In the upper part of the window you can select the name of a user or a user group and the lower part of the window will show the respective file or folder permissions. In addition to the owner of the folder or file, also user groups “SYSTEM” and “Administrators” are displayed here. Click on “Edit” to change the permissions for the folder or file. If the user you are looking for is not listed, first click “Add”. Otherwise you can ignore this and continue directly with the next but one step. Now enter the username you want to add in the white text field and click “OK”. For users connected with a Microsoft account you would have to enter the corresponding email address. To adjust the permissions for a user, select the user in the upper part of the window and check either “Allow” or “Deny” for each permission. Click “OK” to accept the changes which will close the settings window.
How to Take Ownership of Files and Folders
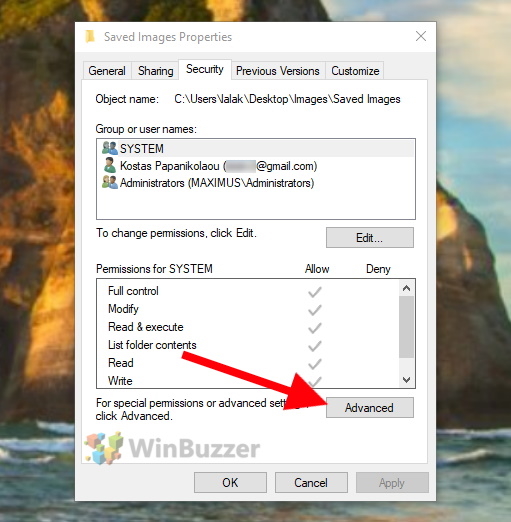
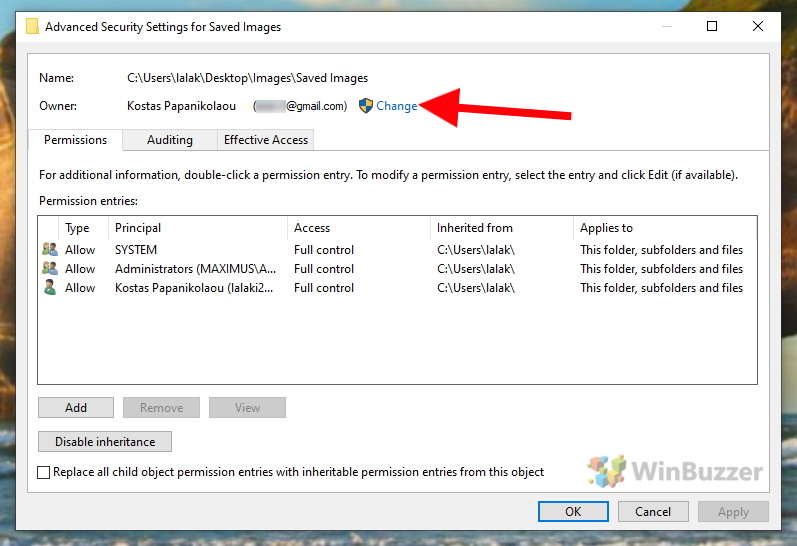
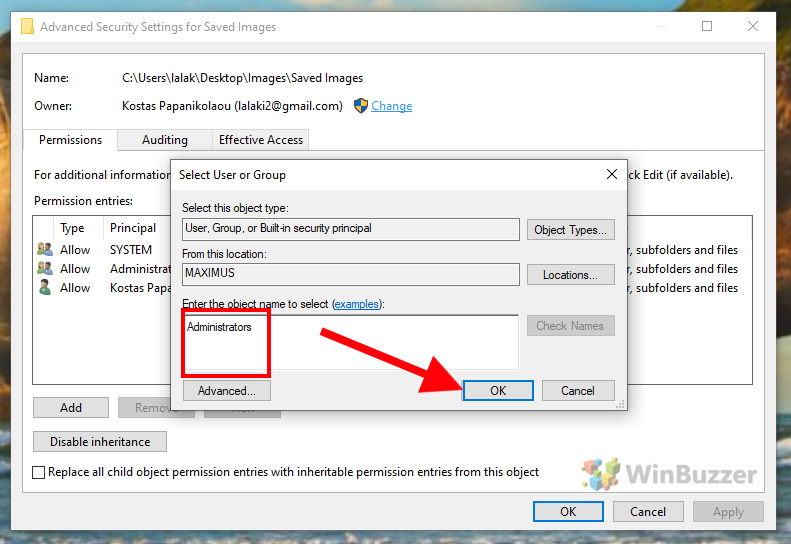
As shown in the first step above, first open the file properties and then the “Security” tab. There you click on “Advanced”. In the now shown dialog click on “Change” right next to the current file owner`s name. Now, Windows 10 will ask you for your admin credentials (username and password) before you can proceed. After doing this, enter the user name of the new file owner in the white text field and click “OK”. For users connected with a Microsoft account, you must enter the corresponding email address.
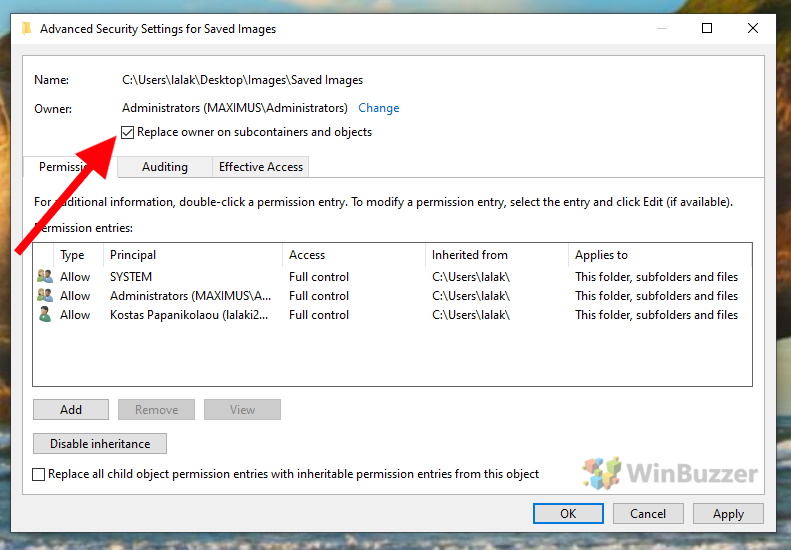
If you want to change the owner of all files and subdirectories of a folder at the same time, check the box “Replace owner on subcontainers and objects” . After clicking “OK” you will have successfully changed the ownership of the the given file or folder.