1 How to Configure Dump Files in Windows 10 via Control Panel2 How Configure Windows 10 BSOD Dump Files with Command Prompt
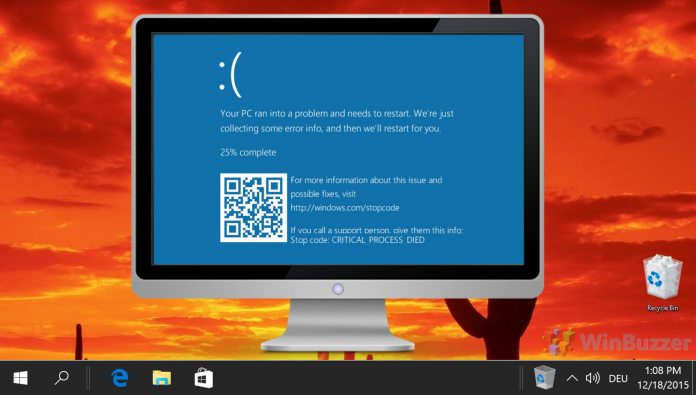
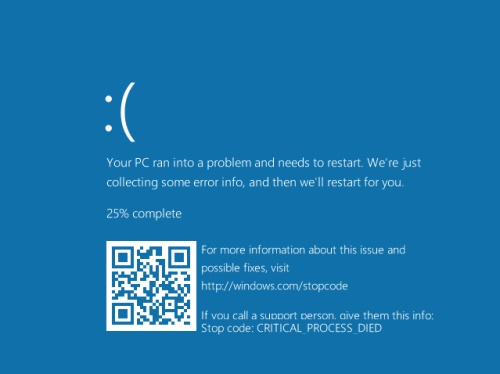
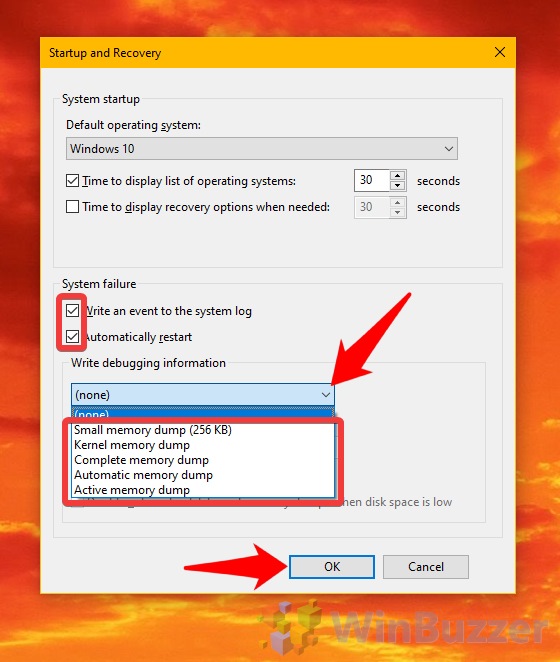
Thankfully, you can configure Windows 10 to create a blue screen dump files at the location of your choice for easy diagnosis and access. We’re going to show exactly how to set up those crash dumps today, but first, a little about what a dump file is. What is a BSOD dump file? A dump file, memory dump, or crash dump is a copy of your PC’s memory at the time it crashed. Knowing exactly what was in your computer’s memory before it departed to the blue realm is naturally useful to discover what caused it. By default, dump files in Windows 10 are set to ‘Automatic memory dump’, which is the same as a kernel memory dump but lets Microsoft do some automatic pagefile management. Kernel dumps contain less information than a ‘complete memory dump’, but more than a ‘small memory dump’, which holds only basic information like loaded drivers, kernel info, and processes. An Active memory dump is also available, being smaller than complete and containing active memory in kernel and user mode. In general, a kernel dump is the best medium, with complete dumps in most cases containing much more than is needed. Either way, they’re not something the average user will find easy to understand – they’re best sent to support or a developer for troubleshooting. Minidumps are also created in Windows 10 on all settings other than “none”, and these are very useful to see the driver files involved in a crash. Bear in mind that if you want to configure a complete Windows 10 memory dump, you’ll need a pagefile at least as big as your amount of available memory. You can see how to optimize your pagefile here.
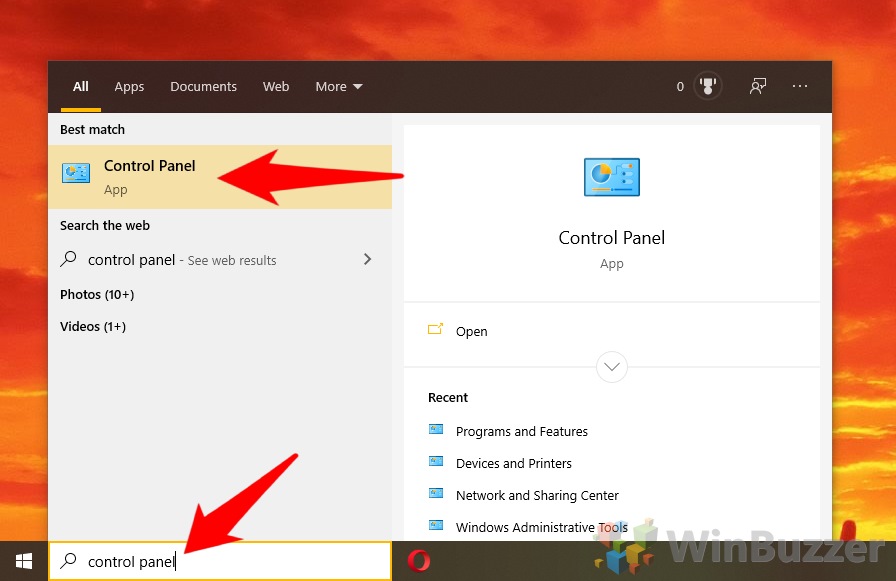
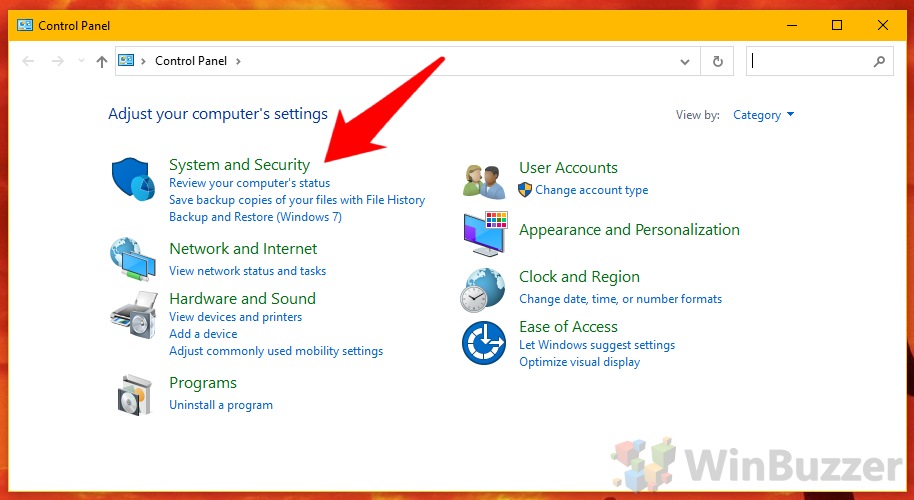
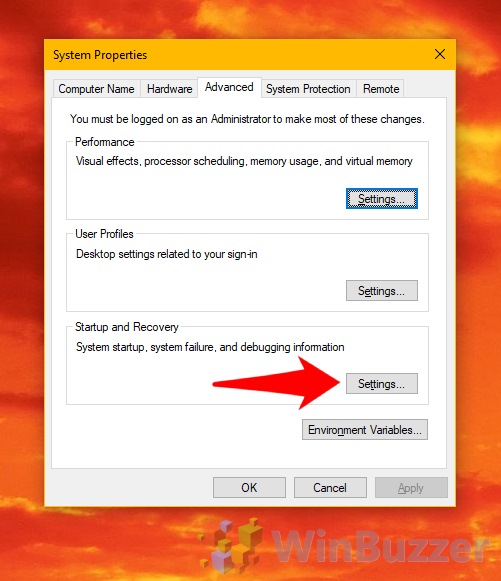
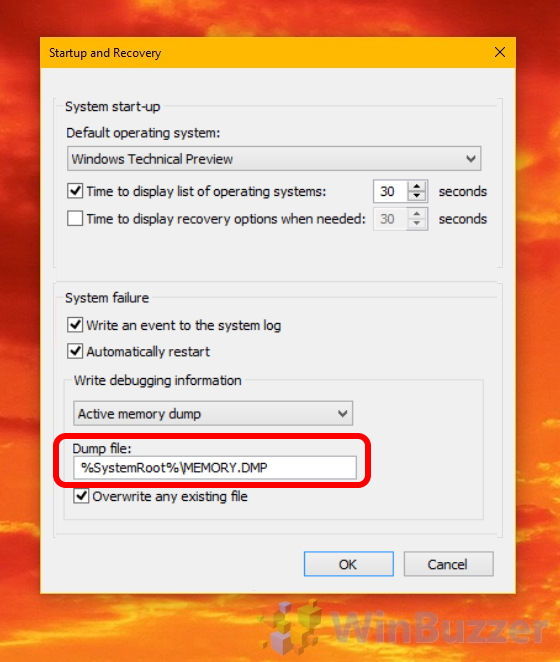
How to Configure Dump Files in Windows 10 via Control Panel
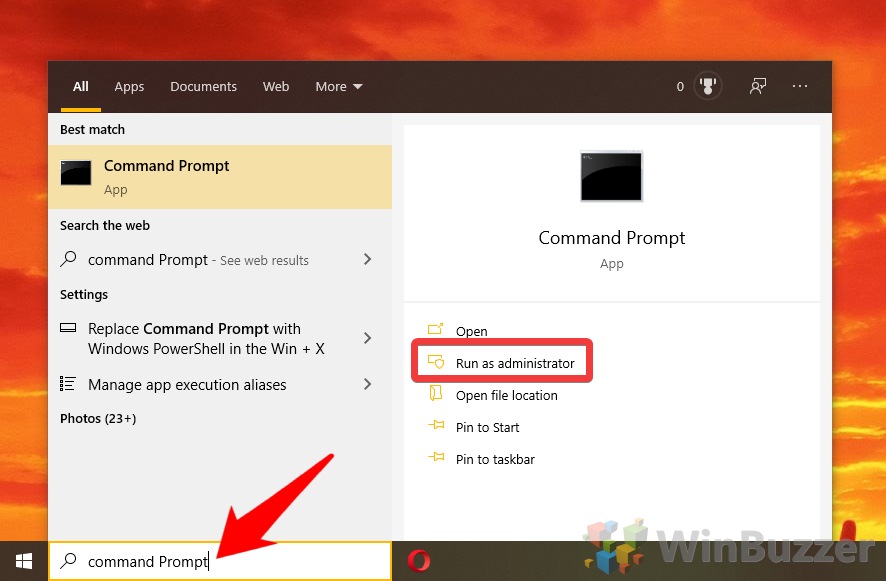
How Configure Windows 10 BSOD Dump Files with Command Prompt
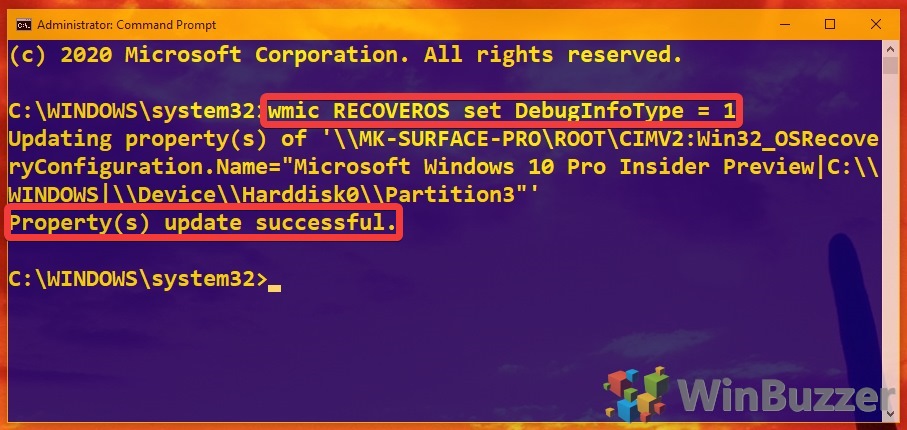
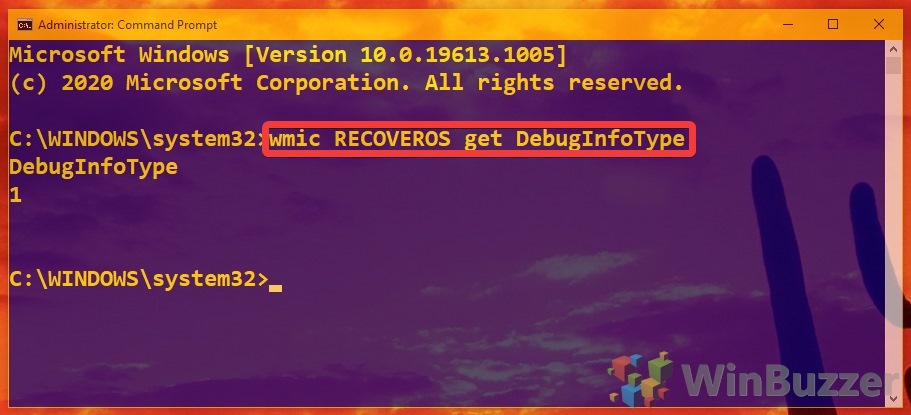
On success, you’ll see the text “Property(s) update successful”. It will return a number. Use the table in the step above to cross-reference.
